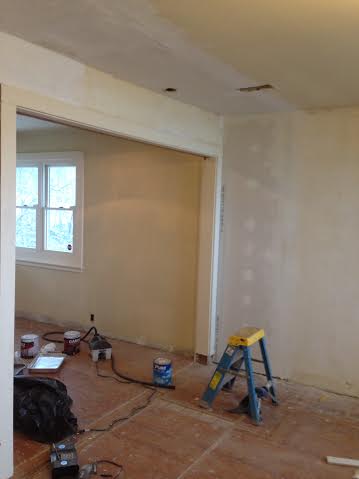
Now that all of the wallpaper is in the past, dealing with the plaster underneath is a major undertaking. Because many rooms are being changed and walls were removed, the original plaster was quite damaged or altogether missing in many spots.
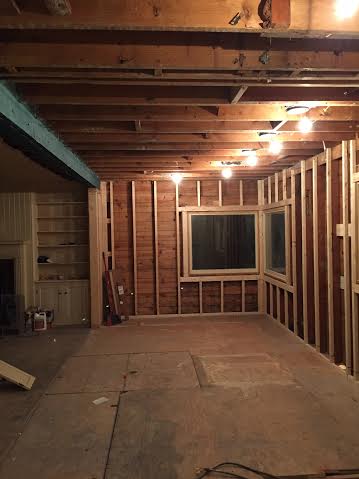
Open kitchen/family room


We insulated and drywalled the kitchen, but tried to patch most parts of the house where we could. One of the worst patching areas was in the master bedroom where the original closet was removed and the the adjoined bedroom was opened up to the room to become a walk-in closet/dressing room. A large hole was left in the intact plaster and the existing plaster varied in depth.


In some areas, we used multiple layers of drywall to patch in and in others we used one layer of drywall with many layers of plaster on top to eventually get a smooth surface.
The same thing happened in the family room where we exchanged the old square recessed lights for new round can lights. In some areas, the plaster was almost 2 inches thick requiring 3-4 layers of 1/2 inch drywall!
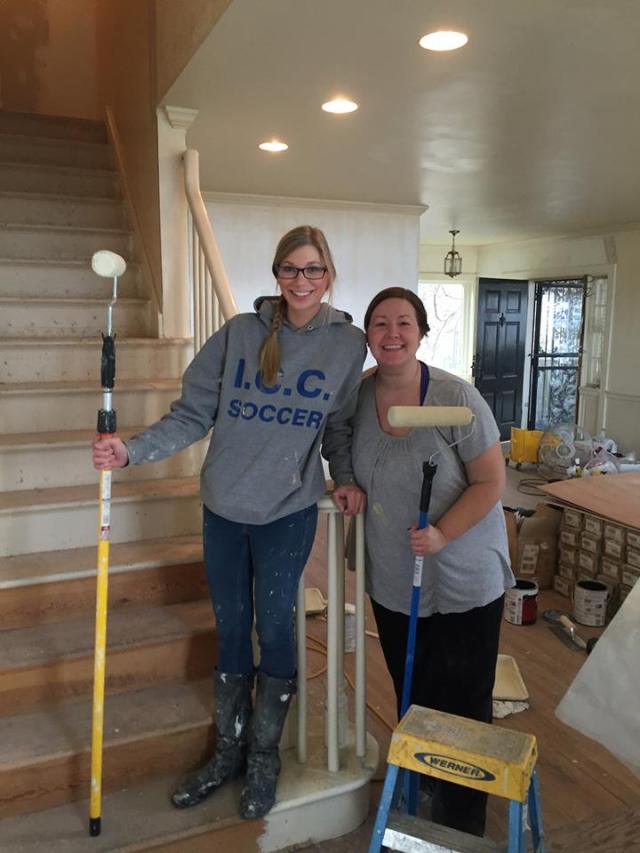
Though it is a long and tedious process patching old plaster, I am so happy with the end result and love how it turned out. Let the painting begin!

Great job on the plaster Kate! It’s nice to keep what you can. Drywall sure is easier, but that plaster look can’t be beat in an old house.